Recovery Mode (Apple)
Apple's Recovery Mode is a built-in, low-level emergency state that allows your Mac or PC to communicate directly with your device. It bypasses iOS or macOS when the system is frozen, corrupted, or failing to boot, allowing you to update or restore the software
Recovery Mode is a built-in troubleshooting environment on Apple devices, including iPhone, iPad, iPod touch, and Apple TV, that allows users to restore or update the device's operating system when it cannot boot normally. Unlike DFU (Device Firmware Update) mode, Recovery Mode loads a minimal operating system that communicates with a computer via Finder (macOS Catalina and later) or iTunes (Windows and older macOS). It is the primary tool for resolving software issues such as a frozen Apple logo, boot loops, or failed over-the-air updates.[1]
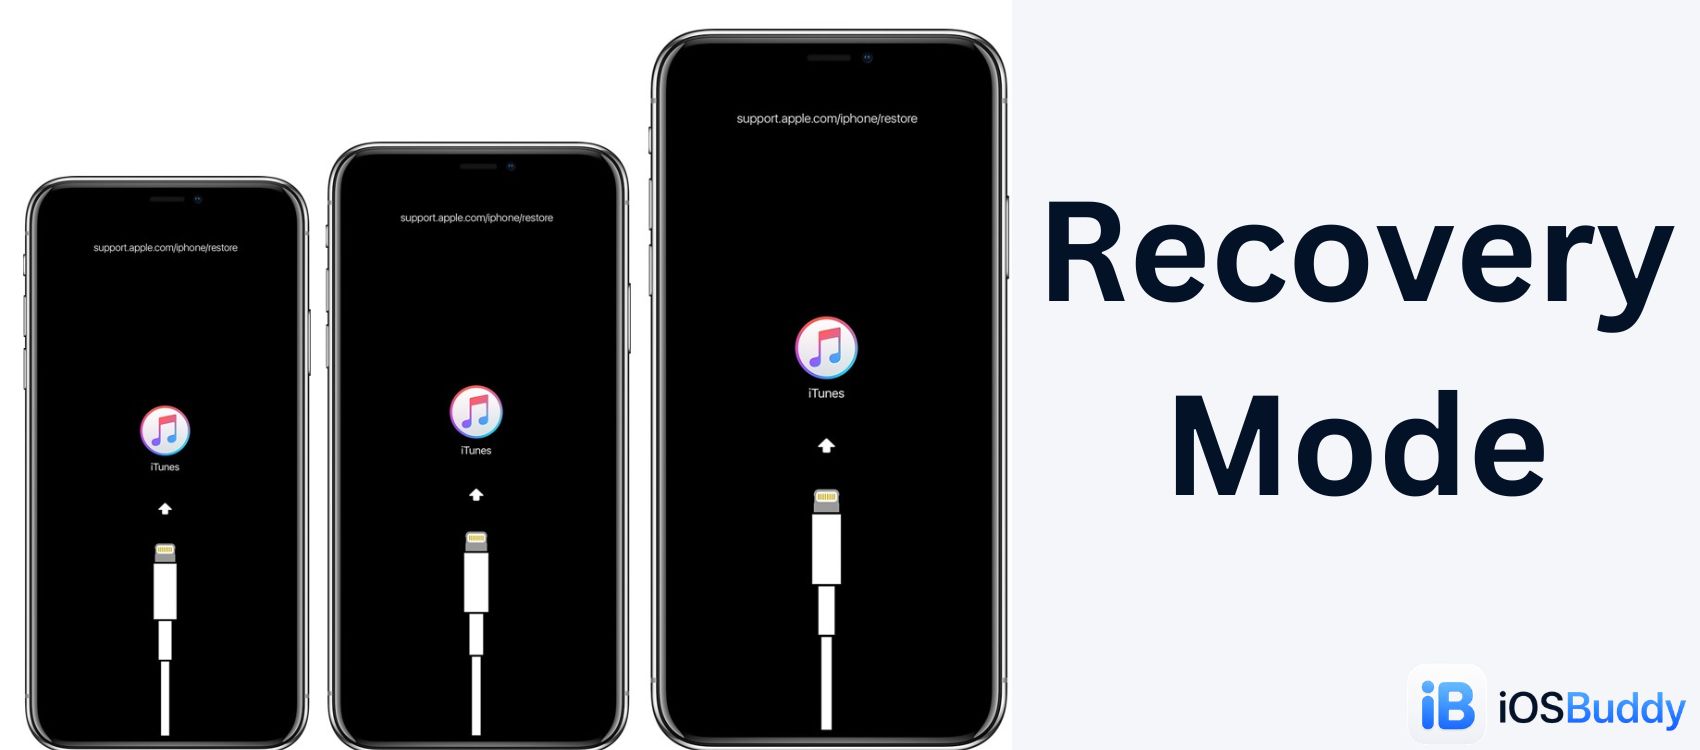
Recovery Mode is distinct from DFU mode in that it provides visual feedback (a "Connect to Computer" screen) and requires the device to have a functioning iBoot bootloader. It is generally easier to enter and safer for standard users than DFU mode.
Overview
Recovery Mode was introduced by Apple as a user-accessible fallback when the main operating system fails to load. When a standard reboot does not work, Recovery Mode offers a lifeline: the ability to erase and reinstall iOS or iPadOS without needing advanced technical knowledge.[2]
The mode serves several critical functions:
- Installing a fresh copy of the operating system.
- Updating to the latest available iOS version.
- Erasing a device with a forgotten passcode.
- Recovering a device stuck on the Apple logo or in a boot loop.
Unlike DFU mode, Recovery Mode does not bypass iBoot's signature verification. Any restore performed in Recovery Mode requires Apple's signing server to approve the operation, meaning only currently signed iOS versions can be installed.
Technical Architecture
To understand Recovery Mode, it is necessary to understand where it sits within the Apple device boot chain:
- SecureROM (BootROM): Read-only memory hardcoded into the chip. It loads iBoot after verifying Apple's signature.
- iBoot (Low-Level Bootloader): Verifies and loads the next stage. If the main kernel fails to load, iBoot can load the Recovery Mode kernel instead.
- Recovery Kernel: A stripped-down version of XNU (the iOS kernel) with minimal drivers, primarily for USB communication and display output.
- Recovery UI: A simple graphical interface showing a cable pointing to a computer or, on older devices, an iTunes logo.
Recovery Mode activates when iBoot cannot find a bootable operating system. This can happen because the system partition is corrupted, the user manually requested Recovery Mode via button combinations, or a failed update left the device in an inconsistent state.[3]
Recovery Mode vs. DFU Mode
| Feature | Recovery Mode | DFU Mode |
|---|---|---|
| Screen Display | Connect to Computer icon (cable + laptop) or iTunes logo | Completely black screen |
| Kernel Loaded | Yes (Recovery kernel) | No |
| USB Identification | Apple Mobile Device (Recovery) | USB DFU Device (0xFE) |
| Visual Feedback | Yes (screen is lit) | No (screen appears off) |
| Difficulty to Enter | Moderate | High (timing sensitive) |
| Signature Check | Enforced on all devices | Enforced on A12+ devices |
| Typical Use | Standard restore, update, passcode reset | Deep brick recovery, jailbreak |
How to Enter Recovery Mode
Entering Recovery Mode requires specific button combinations that vary by device generation. The device must be connected to a computer with Finder (macOS Catalina or later) or iTunes (Windows or macOS Mojave and earlier) installed.
Prerequisites
- A computer (Mac or Windows PC).
- The latest version of Finder (macOS) or iTunes (Windows).
- A Lightning or USB-C cable compatible with the device.
- Sufficient battery charge (at least 20% recommended).
For Devices with a Home Button (iPhone 6s, 6s Plus, SE 1st gen, and earlier; iPad with Home button)
- Connect the device to the computer using a USB cable.
- Open Finder or iTunes on the computer.
- Press and hold both the Home button and the Top (Sleep/Wake) button simultaneously.
- Continue holding both buttons. Do not release when the Apple logo appears.
- Keep holding until the Recovery Mode screen appears. This screen displays a cable pointing to a laptop icon (or an iTunes logo on older iOS versions).
- Release both buttons. The computer should now detect a device in recovery mode.
For iPhone 7 and iPhone 7 Plus
The iPhone 7 series uses a solid-state Home button that requires a different procedure:
- Connect the device to the computer.
- Open Finder or iTunes.
- Press and hold the Side (Sleep/Wake) button and the Volume Down button simultaneously.
- Continue holding. Do not release when the Apple logo appears.
- Keep holding until the Recovery Mode screen appears.
- Release both buttons.
For Face ID Devices (iPhone 8, 8 Plus, X, XS, XR, 11, 12, 13, 14, 15, 16; iPad without Home button)
These devices use the Side button and volume controls:
- Connect the device to the computer.
- Open Finder or iTunes.
- Press and quickly release the Volume Up button.
- Press and quickly release the Volume Down button.
- Press and hold the Side (Power) button.
- Continue holding the Side button. Do not release when the Apple logo appears.
- Keep holding until the Recovery Mode screen appears (cable pointing to laptop).
- Release the Side button.
For Apple TV (4th generation and later)
Apple TV enters Recovery Mode via a different method:
- Disconnect the Apple TV from power.
- Connect the Apple TV to a Mac via USB-C cable (4th gen) or USB-C to USB-C (5th gen+).
- Open Finder on the Mac.
- Reconnect power to the Apple TV while simultaneously pressing and holding the Menu and TV/Play buttons on the Siri Remote.
- Continue holding until the Apple TV appears in Finder as a device in recovery mode.
Exact button sequences are documented by Apple Support.[4]
How to Exit Recovery Mode
If a user enters Recovery Mode accidentally or decides not to restore the device, exiting is straightforward:
Method 1: Force Restart (No Data Loss)
- iPhone 6s and earlier, iPad with Home button: Press and hold the Home button and Top (Sleep/Wake) button until the Apple logo appears, then release.
- iPhone 7 and 7 Plus: Press and hold the Side (Sleep/Wake) button and Volume Down button until the Apple logo appears.
- iPhone 8 and later, Face ID iPads: Press Volume Up, press Volume Down, then press and hold the Side button until the Apple logo appears.
Method 2: Allow Timeout
If the device is not connected to a computer or the computer disconnects, Recovery Mode will time out after approximately 15 minutes and attempt a normal boot.
Common Use Cases
1. Resolving a Boot Loop
A boot loop occurs when the device restarts repeatedly without ever reaching the Home screen. This is often caused by a failed over-the-air update or corrupt system files. Recovery Mode allows the user to restore the device to a working state by wiping the system partition and reinstalling iOS.
Process: Enter Recovery Mode > Click Restore in Finder/iTunes > Wait for download and installation > Set up as new device or restore from backup.
2. Forgotten Passcode (Disabled Device)
After multiple incorrect passcode attempts, the device becomes disabled, displaying "iPhone Unavailable" with a timer. If the passcode is permanently forgotten, Recovery Mode is the standard solution.
Important: A Recovery Mode restore erases all data on the device. Without a backup, photos, messages, and other personal data are lost permanently.
Process: Enter Recovery Mode > Click Restore > After restore completes, the device asks to set up as new or restore from a backup.
3. Stuck on Apple Logo
When the device powers on but remains indefinitely on the Apple logo with no progress bar, the operating system may be corrupted. Recovery Mode provides the only software-based fix.
4. Failed Over-the-Air Update
If an OTA (Over-The-Air) update fails partway through installation, the device may become unbootable. Recovery Mode allows the update to be completed via a wired connection, which is more reliable than wireless.
What Happens During a Recovery Mode Restore
When a user initiates a restore from Recovery Mode, the following steps occur:
- Device Identification: Finder/iTunes identifies the device model and its current firmware version.
- Download Request: The computer requests the latest signed iOS version from Apple's signing server.
- Signature Verification: Apple's server checks if the requested iOS version is still signed. If yes, it returns a signed SHSH blob. If no, the restore fails with an error (typically error 3194).
- Firmware Extraction: The computer downloads the IPSW (iPhone Software) file, a compressed archive containing the complete operating system.
- Device Wipe: The device's system partition is erased. User data partition may also be erased depending on settings.
- Firmware Installation: The computer sends the firmware to the device via USB. The device writes the new operating system to flash memory.
- Verification and Reboot: The device verifies the installation and reboots into the normal operating system.[5]
Common Errors and Troubleshooting
Error 3194 (Device not eligible for requested build)
This error occurs when attempting to restore an older iOS version that Apple no longer signs. Recovery Mode cannot bypass signing requirements. The solution is to restore the latest available signed version.
Error 4013 or 4014
These errors indicate a communication failure between the computer and device, often due to a faulty USB cable, damaged USB port, or firewall blocking the connection. Solutions include:
- Trying a different USB cable and port.
- Using a different computer.
- Disabling antivirus or firewall software temporarily.
- Updating iTunes or macOS to the latest version.
Error 9
A communication timeout error. Often resolved by using a direct USB port (not a hub) and ensuring the computer does not enter sleep mode during the restore.
Recovery Mode Does Not Appear
If the device continues to boot normally despite following the button sequence:
- Ensure the device is connected to a computer during the attempt.
- Check that the cable is functional (try charging another device).
- The device may have a hardware failure (damaged buttons or logic board).
- On newer devices, ensure the Side button is being held long enough (up to 20 seconds after the Apple logo appears).
Apple provides official guidance for these errors on their support website.[6]
Recovery Mode on Other Platforms
While this article focuses on Apple's implementation, Recovery Mode is a broader concept in computing:
- Android Recovery Mode: Accessed via Volume Up + Power buttons. Used for factory resets, cache clearing, and applying OTA updates. Most Android devices use stock Android Recovery (with dead Android robot icon) or manufacturer-specific versions (Samsung, Pixel, OnePlus).
- macOS Recovery: A separate utility launched by holding Command + R at startup. Allows disk repair, reinstallation of macOS, and access to Terminal utilities. Not to be confused with iOS Recovery Mode.
- Windows Recovery Environment (WinRE): Accessed via F11 at boot or from Settings. Provides system restore, command prompt, and startup repair.
See Also
References
You Might Also Like

Jun 13, 2026
macOS 27 Golden Gate Beta 1: Every New Feature, Compatible Macs & Release Date
Apple announced macOS 27 Golden Gate at WWDC 2026 on June 8, 2026. Building directly upon the visual identity of macOS 26 Tahoe, this version marks a historic shift by dropping support for Intel CPUs entirely, running exclusively on Apple silicon. The first developer beta (build 26A5353q) is currently available for testing, with the stable consumer launch planned for September 2026
Read more →
Jun 7, 2026
macOS Ventura
macOS Ventura (version 13) is Apple's nineteenth major operating system for Mac. It introduces advanced multitasking with Stage Manager, improves ecosystem continuity by letting you use your iPhone as a webcam, and adds iOS-style Clock and Weather apps directly to your desktop.
Read more →
Jun 4, 2026
What is Jailbreak?
Jailbreaking is the process of removing software restrictions imposed by Apple on iPhones and iPads, granting users root access to the operating system.
Read more →
Comments
No comments yet. Be the first to comment!
Leave a Comment
Sign in to comment
Join the conversation with your account or continue as a guest.