

What is iOS Restore Mode?
Restore mode (commonly referred to as Recovery Mode) in iOS is a built-in emergency repair state that bypasses the standard operating system to let a computer reinstall or update the iPhone or iPad software
Restore Mode (also called Recovery Mode) is a special low-level operating state that Apple's iOS-based devices enter to execute a ramdisk-based firmware restoration. It is the primary mechanism through which iPhones, iPads, iPod touches, and Apple TVs are repaired, updated, or completely reinstalled using iTunes, Finder, or the Apple Devices app on a connected computer.
- What Is Restore Mode?
- When Is Restore Mode Used?
- Restore Mode vs. DFU Mode
- The Restore Procedure (Step-by-Step)
- Stage 1: Device Preparation
- Stage 2: Firmware Verification
- Stage 3: Firmware Preparation
- Stage 4: Device Personalization
- Stage 5: Software Restore (ASR)
- Stage 6: Software Verification
- Stage 7: Firmware Restore (Off-Screen)
- Files Used During a Restore
- Root Filesystem Image
- Ramdisk Images
- Firmware Image Location
- Key IPSW Components
- How to Enter Restore Mode (By Device Model)
- Prerequisites
- iPhone 8, iPhone X, and Later (Including iPhone SE 2nd/3rd Gen, all iPhone 11–17 series)
- iPhone 7 and iPhone 7 Plus
- iPhone 6s and Earlier, iPhone SE (1st Generation), iPod touch (6th Generation and Earlier)
- iPad (All Models with Face ID — No Home Button)
- iPad (Models with Home Button)
- Apple TV (2nd/3rd Generation)
- Apple TV 4K and Later
- Update vs. Restore: What's the Difference?
- Update
- Restore
- IPSW Firmware and Where to Find It
- Finding and Downloading IPSW Files
- Forcing a Specific IPSW in iTunes/Finder
- Restore Mode and Jailbreaking
- Early Jailbreaks (2007–2009)
- SHSH Blobs and TinyUmbrella
- Modern Jailbreaking
- Common Restore Mode Errors and Troubleshooting
- General Troubleshooting Steps
- Exiting Restore Mode
- Exiting Without Restoring
- After a Successful Restore
- Restoring Without a Computer (iPhone 15 Pro and Later)
- Frequently Asked Questions
- See Also
- Resources
What Is Restore Mode?
Restore Mode is the operating state that an iOS-based device enters specifically to run a ramdisk — a temporary, in-memory operating environment loaded from an IPSW (iPhone Software) file. This mode is distinct from the device's normal iOS boot process and serves as a controlled repair environment that bypasses the full operating system.
When a device enters Restore Mode, the main iOS system is not running. Instead, the bootloader (iBoot) loads a minimal environment in which the computer (via iTunes or Finder) can communicate with the device to deliver firmware components, verify them cryptographically, and write them to flash storage.
When Is Restore Mode Used?
Restore Mode is invoked in the following situations:
- The iPhone is stuck on the Apple logo for several minutes with no progress bar
- The device displays a "Connect to Computer" screen (plug/cable icon)
- The device is stuck in a boot loop — repeatedly restarting without loading iOS
- An iOS update failed midway and left the device in an unbootable state
- The passcode has been forgotten and the device cannot be trusted by the computer
- iTunes or Finder does not recognize the device through a normal connection
- The device entered Recovery Assistant but cannot complete self-recovery
Important: Restoring an iPhone in Restore Mode will erase all data on the device. Always create a backup via iCloud or a computer before proceeding.
Restore Mode vs. DFU Mode
Restore Mode and DFU (Device Firmware Upgrade) Mode are often confused, but they operate at fundamentally different levels of the device's boot chain.
| Feature | Restore Mode | DFU Mode | |||| | Bootloader active | Yes (iBoot loads) | No (bypasses iBoot entirely) | | Screen display | Shows "Connect to Mac" icon | Completely black screen | | Ease of entry | Straightforward button sequence | Precise timing required | | Firmware validation | Via installed iBoot | Fresh iBoot loaded from IPSW | | Use case | Standard repairs and updates | Deep firmware rewrites, old-version jumps | | Version downgrade support | Limited (must be signed) | Possible when Apple signs the version | | Recommended for | Most users | Advanced users / developers |
Restore Mode loads the device's existing iBoot bootloader, which in turn waits for instructions from the connected computer. Because it uses the device's own bootloader, it is subject to Apple's signing restrictions — it can only install firmware currently signed by Apple's servers.
DFU Mode sits lower in the boot chain. It does not load iBoot from the device's flash storage. Instead, the host computer sends a fresh iBoot (called iBSS and iBEC) directly from the chosen IPSW file, bypassing any version installed on-device. This makes DFU mode more appropriate when the installed iBoot is too old or incompatible to validate a large version jump.
Technical note: When restoring across many major iOS versions, Recovery Mode may fail because the old iBoot cannot properly validate the new firmware's IMG4 format. DFU Mode resolves this by loading a fresh boot chain entirely from the target IPSW.
The Restore Procedure (Step-by-Step)
The Apple Wiki documents the full internal restore sequence as follows:
Stage 1: Device Preparation
"Preparing [device type] for the restore." The device transitions from its current state — either from userland (normal iOS) to iBoot, or from DFU Mode to iBSS (the Secondary Bootloader Stage). This is the initial handoff between the host computer and the device's low-level firmware.
Stage 2: Firmware Verification
"Verifying [device type] restore with Apple." The IPSW firmware bundle is sent to Apple's servers (or historically to Cydia/TinyUmbrella for SHSH blob-based verification) to confirm the firmware package is authentic and currently signed. Apple's servers issue an APTicket — a cryptographic authorization that the device checks before allowing the firmware to be installed.
If Apple is no longer signing a particular firmware version, this stage will fail and the restore cannot proceed to that version.
Stage 3: Firmware Preparation
The host computer (iTunes, Finder, or Apple Devices app) prepares the firmware locally. It unpacks the relevant components from the IPSW file, including ramdisk images, kernelcaches, and device tree blobs, ready to be transmitted to the device.
Stage 4: Device Personalization
"Preparing [device type] for the restore." (Personalization) Apple's servers perform IMG4 personalization — cryptographically tailoring the firmware components (iBSS, iBEC, kernelcache, etc.) to the specific device's ECID (Exclusive Chip ID). This prevents firmware images from being transferred between devices or installed on unauthorized hardware.
Stage 5: Software Restore (ASR)
"Restoring [device type] software." → ASR RESTORE The Apple Software Restore (ASR) tool writes the root filesystem from the firmware image to the device's flash storage. This is the largest and most time-consuming phase. The firmware's root partition — contained in the main disk image file inside the IPSW — is written to the device.
Stage 6: Software Verification
"Verifying [device type] software." → ASR VERIFY After the filesystem is written, ASR performs integrity verification to confirm the written data matches the expected content. This ensures no corruption occurred during the flashing process.
Stage 7: Firmware Restore (Off-Screen)
"Restoring [device type] firmware." This stage is not reported to the host computer in real time. It includes:
- Restoration of the NOR/boot partition image
- Installation of baseband firmware (the radio modem firmware for cellular connectivity)
- Updates to calibration data and low-level hardware settings
After this stage completes, the device reboots and — if successful — loads the newly installed iOS, displaying the "Hello" setup screen.
Files Used During a Restore
A restore operation draws on multiple components contained within the IPSW archive (which is a ZIP file with an .ipsw extension).
Root Filesystem Image
The firmware (root filesystem) is the single largest disk image file in the IPSW package. It contains all files for the root partition of iOS — the operating system itself, system apps, frameworks, and daemons. This image is eventually sent to the device following device-specific personalization.
Ramdisk Images
The ramdisks are smaller disk images also contained within the IPSW. They serve as the temporary in-memory operating environment that executes the restore process on-device. The device boots into this ramdisk rather than into full iOS during the restore.
For the original iPhone, iPhone 3G, iPhone 3GS, and early iPad models, the IPSW ramdisk also contained the baseband firmware for the cellular radio.
Firmware Image Location
Firmware images are stored within the IPSW at:
./Firmware/all_flash/(relative to the IPSW root). These components are customized per-device during the personalization stage before being transmitted.
Key IPSW Components
| Component | Purpose | ||| | Root filesystem DMG | Full iOS operating system (root partition) | | Restore ramdisk | Temporary OS environment running the restore | | Update ramdisk | Used for delta/update restores | | iBSS | Secondary bootloader stage (first stage in DFU) | | iBEC | Extended bootloader (second stage in DFU) | | DeviceTree | Hardware description file | | Kernelcache | Compressed iOS kernel | | Baseband firmware | Cellular radio firmware |
How to Enter Restore Mode (By Device Model)
Prerequisites
- A Mac (macOS Catalina or later: use Finder; macOS Mojave or earlier: use iTunes) or a Windows PC with the Apple Devices app or iTunes installed and up to date.
- A USB cable to connect the device to the computer.
- Ideally, a backup of device data.
iPhone 8, iPhone X, and Later (Including iPhone SE 2nd/3rd Gen, all iPhone 11–17 series)
- Connect the iPhone to the computer.
- Quickly press and release the Volume Up button.
- Quickly press and release the Volume Down button.
- Press and hold the Side (Power) button until the "Connect to Mac" or "Connect to Computer" screen appears.
- Release the Side button. iTunes or Finder will detect the device.
iPhone 7 and iPhone 7 Plus
- Connect the iPhone to the computer.
- Press and hold both the Volume Down button and the Side button simultaneously.
- Hold until the "Connect to Computer" screen appears.
- Release both buttons.
iPhone 6s and Earlier, iPhone SE (1st Generation), iPod touch (6th Generation and Earlier)
- Connect the device to the computer.
- Press and hold both the Home button and the Top (or Side) button simultaneously.
- Hold until the "Connect to iTunes" screen appears.
- Release both buttons.
iPad (All Models with Face ID — No Home Button)
- Connect the iPad to the computer.
- Quickly press and release the Volume Up button.
- Quickly press and release the Volume Down button.
- Press and hold the Top button until the recovery mode screen appears.
iPad (Models with Home Button)
- Connect the iPad to the computer.
- Press and hold both the Home button and the Top button simultaneously.
- Hold until the "Connect to iTunes" screen appears.
Apple TV (2nd/3rd Generation)
Use the Micro-USB port on the back of the device and connect directly to the computer (bypassing HDMI). Open iTunes, and the device will be detected in recovery mode.
Apple TV 4K and Later
These models do not have a USB port and require Apple Configurator 2 on a Mac to enter recovery mode.
Update vs. Restore: What's the Difference?
When iTunes or Finder detects a device in Restore Mode, it offers two options:
Update
- Reinstalls iOS without erasing user data.
- Downloads and applies the latest signed iOS version.
- Ideal for resolving failed updates or software glitches without data loss.
- Should always be attempted before a full Restore.
Restore
- Completely erases the device and installs a fresh copy of iOS.
- All user data, apps, settings, and files are permanently deleted.
- Resets the device to factory defaults.
- Use only if Update fails or the device is otherwise unrecoverable.
Tip: After a Restore, the device boots to the "Hello" setup screen. You can restore from a previous iCloud or local backup to recover your data.
IPSW Firmware and Where to Find It
IPSW files are the complete firmware packages used for restore operations. They can be used with iTunes or Finder to restore to a specific iOS version (as long as Apple is still signing that version).
Finding and Downloading IPSW Files
iOSBuddy (iosbuddy.com) is a comprehensive Apple resource database that tracks:
- 4,800+ IPSW builds across all Apple devices
- 3,100+ OTA (Over-the-Air) builds
- Currently signed firmware status in real-time
- Beta firmware for iOS, iPadOS, macOS, watchOS, and more
- Device specifications, jailbreak compatibility, and sideloaded apps
iOSBuddy allows users to look up the correct IPSW for their exact device model, check whether a given firmware version is still being signed by Apple, and download the file directly. The platform also provides:
- Signing Status tool — shows which versions Apple is currently signing
- Identifier Lookup — find the correct model identifier for your device
- Max OS Version tool — the highest iOS version a specific device can run
- Firmware by Version — browse all available builds for a specific iOS version
- iTunes Downloads — all versions of iTunes for Mac and Windows
IPSW files are large. Download the correct file for your exact device model before beginning a restore, especially on slower internet connections where mid-restore timeouts can occur.
Forcing a Specific IPSW in iTunes/Finder
To restore to a specific IPSW file rather than the latest version:
- Mac (Finder): Hold
Optionand click the Restore iPhone button, then navigate to the IPSW file. - Windows (iTunes): Hold
Shiftand click the Restore iPhone button, then navigate to the IPSW file.
Apple's servers will still verify that the chosen version is currently signed. If it is not, the restore will fail at the APTicket verification stage.
Restore Mode and Jailbreaking
Restore Mode played a historically significant role in early iOS jailbreaking.
Early Jailbreaks (2007–2009)
The original jailbreaks for the first-generation iPhone were accomplished by booting the device into Restore Mode and using the cp iBoot command — a command with access to the entire device filesystem — to copy a modified fstab file and an afcd plist from the user partition to the root partition.
The fstab modification remounted the root filesystem as read/write (by default it is read-only), enabling further system modifications. This was the foundational technique that enabled the early jailbreak community to open up iOS.
SHSH Blobs and TinyUmbrella
Later jailbreak workflows introduced the concept of SHSH blobs (Signed Hash blobs) — device-specific cryptographic signatures that could be saved locally and used to restore to older (no longer Apple-signed) firmware versions. Tools like TinyUmbrella and Cydia's SHSH server allowed users to redirect the firmware verification step (Stage 2 of the restore procedure) to a local server that would serve cached SHSH blobs, enabling downgrades that Apple's servers would otherwise reject.
Modern Jailbreaking
Contemporary jailbreak tools such as checkra1n, palera1n, and unc0ver interact with DFU Mode rather than Restore Mode, exploiting hardware-level bootrom vulnerabilities that cannot be patched by software updates. However, Restore Mode remains relevant for:
- Restoring jailbroken devices to stock firmware
- Exiting jailbroken states for warranty repair
- Setting up clean environments for security researchers
Common Restore Mode Errors and Troubleshooting
| Error Code | Meaning | Solution | |||| | 4013 / 4014 | USB communication failure | Try a different USB cable, port, or computer | | 3194 | Apple cannot verify firmware (signing issue) | Ensure the firmware version is still signed | | 4030 | Personalization failure (large version gap) | Switch to DFU Mode for the restore | | 9 | Interrupted restore | Do not disconnect during restore; retry | | 21 | APTicket mismatch | Firmware is not signed; use a signed version | | 53 / 56 | Touch ID/hardware component mismatch | Indicates unauthorized hardware repair | | 14 | Update attempt failed | Try Restore instead of Update |
General Troubleshooting Steps
- Use a different USB cable — Apple recommends the original cable. Third-party cables may not support the required data connection.
- Try a different USB port — Directly on the computer, not through a hub.
- Update iTunes / Finder / Apple Devices app — Outdated software can cause recognition failures.
- Disable Find My before restoring if the device is accessible (Settings → [Your Name] → Find My).
- Check Apple's system status — Server outages can cause verification failures.
- If Restore Mode fails, escalate to DFU Mode — DFU provides a deeper recovery path for cases where Restore Mode cannot complete.
Timeout behavior: If the firmware download takes more than 15 minutes and the device exits Restore Mode, allow the download to complete, then re-enter Restore Mode and repeat the process.
Exiting Restore Mode
Exiting Without Restoring
If you entered Restore Mode accidentally or want to exit without performing a restore:
- Force restart the device using the same button combination used to enter, but instead hold the buttons until the Apple logo appears (not the "Connect to Computer" screen).
- On iPhone 8 and later: Press Volume Up → Volume Down → Hold Side button until Apple logo appears.
- On iPhone 7: Hold Volume Down + Side until Apple logo appears.
- On iPhone 6s and earlier: Hold Home + Top/Side until Apple logo appears.
After a Successful Restore
The device will automatically exit Restore Mode and reboot into the freshly installed iOS, displaying the "Hello" setup screen. No manual exit is needed.
Restoring Without a Computer (iPhone 15 Pro and Later)
Starting with certain modern iPhone models running iOS 18 or later, it is possible to restore a device in Recovery Mode without a computer. Place a second iPhone or iPad (also running iOS 18 / iPadOS 18 or later) close to the device in Restore Mode. The available device will display a "Restore Nearby iPhone" prompt. Tap Continue to proceed with the wireless restore.
Frequently Asked Questions
Q: Does entering Restore Mode erase my data? Entering Restore Mode itself does not erase data. However, choosing Restore (as opposed to Update) in iTunes or Finder will erase all data on the device. The Update option attempts to preserve data.
Q: How long does a restore take? Depending on internet speed (for firmware download) and device storage size, a full restore typically takes 30–60 minutes. The firmware download alone can be 4–9 GB.
Q: Can I restore to an older version of iOS? Only if Apple is still signing that version. Once Apple stops signing older versions (typically within a few weeks of a new release), restores to those versions are not possible through standard means. Check signing status via tools like iOSBuddy's Signing Status tool.
Q: What's the difference between Restore Mode and Recovery Mode? These terms are used interchangeably. "Recovery Mode" is Apple's user-facing term; "Restore Mode" is the more technical term used by developers and in Apple's internal firmware to describe the ramdisk-execution state.
Q: Why is my device stuck in Restore Mode? Common causes include interrupted restores, cable disconnections, or firmware download failures. Force restart the device to exit, or attempt the restore again with a reliable USB cable and stable internet connection.
Q: Will a restore fix hardware issues? No. Restore Mode addresses software problems only. Hardware faults (damaged screens, broken buttons, liquid damage) require physical repair and cannot be resolved by a restore.
See Also
- DFU Mode — Lower-level firmware flashing environment that bypasses iBoot
- iBoot — Apple's bootloader that orchestrates the iOS boot sequence
- IPSW — The firmware bundle format used for iOS, iPadOS, and tvOS restores
- ASR (Apple Software Restore) — The tool that performs the filesystem write during a restore
- SHSH Blobs — Device-specific firmware signing tokens used in historical jailbreak downgrade workflows
- APTicket — Cryptographic authorization issued by Apple's signing servers per restore
- Baseband Firmware — The radio modem firmware updated during certain restore operations
- Jailbreaking — Privilege escalation on iOS, historically tied to Restore Mode exploitation
Resources
- The Apple Wiki — Restore Mode — Original technical reference for Restore Mode internals
- iOSBuddy — Comprehensive Apple firmware database: IPSW downloads, OTA builds, signing status, device specs, jailbreak info, and beta firmware
- iOSBuddy Signing Status — Real-time tracker for which iOS versions Apple is currently signing
- iOSBuddy Firmware by Version — Browse all IPSW builds by iOS version number
- Apple Support — If you can't update or restore your iPhone — Official Apple guide for recovery mode
- Apple Support — About Recovery Mode — Apple's official documentation
This article is based on technical documentation from The Apple Wiki, Apple Support, and community research. Last updated: June 2026.
You Might Also Like
Jun 5, 2026
Apple MDM
Mobile Device Management (MDM) for Apple allows organizations to securely configure, monitor, and manage iPhones, iPads, Macs, and Apple TVs remotely.
Read more →
Jun 5, 2026
DFU (Protocol)
Like Dislike The DFU (Device Firmware Update) protocol is designed to provide a standard for upgrading the firmware of USB devices. It consists of two main parts: a large main firmware and a smaller bootloader
Read more →
Jun 4, 2026
What is Jailbreak?
Jailbreaking is the process of removing software restrictions imposed by Apple on iPhones and iPads, granting users root access to the operating system.
Read more →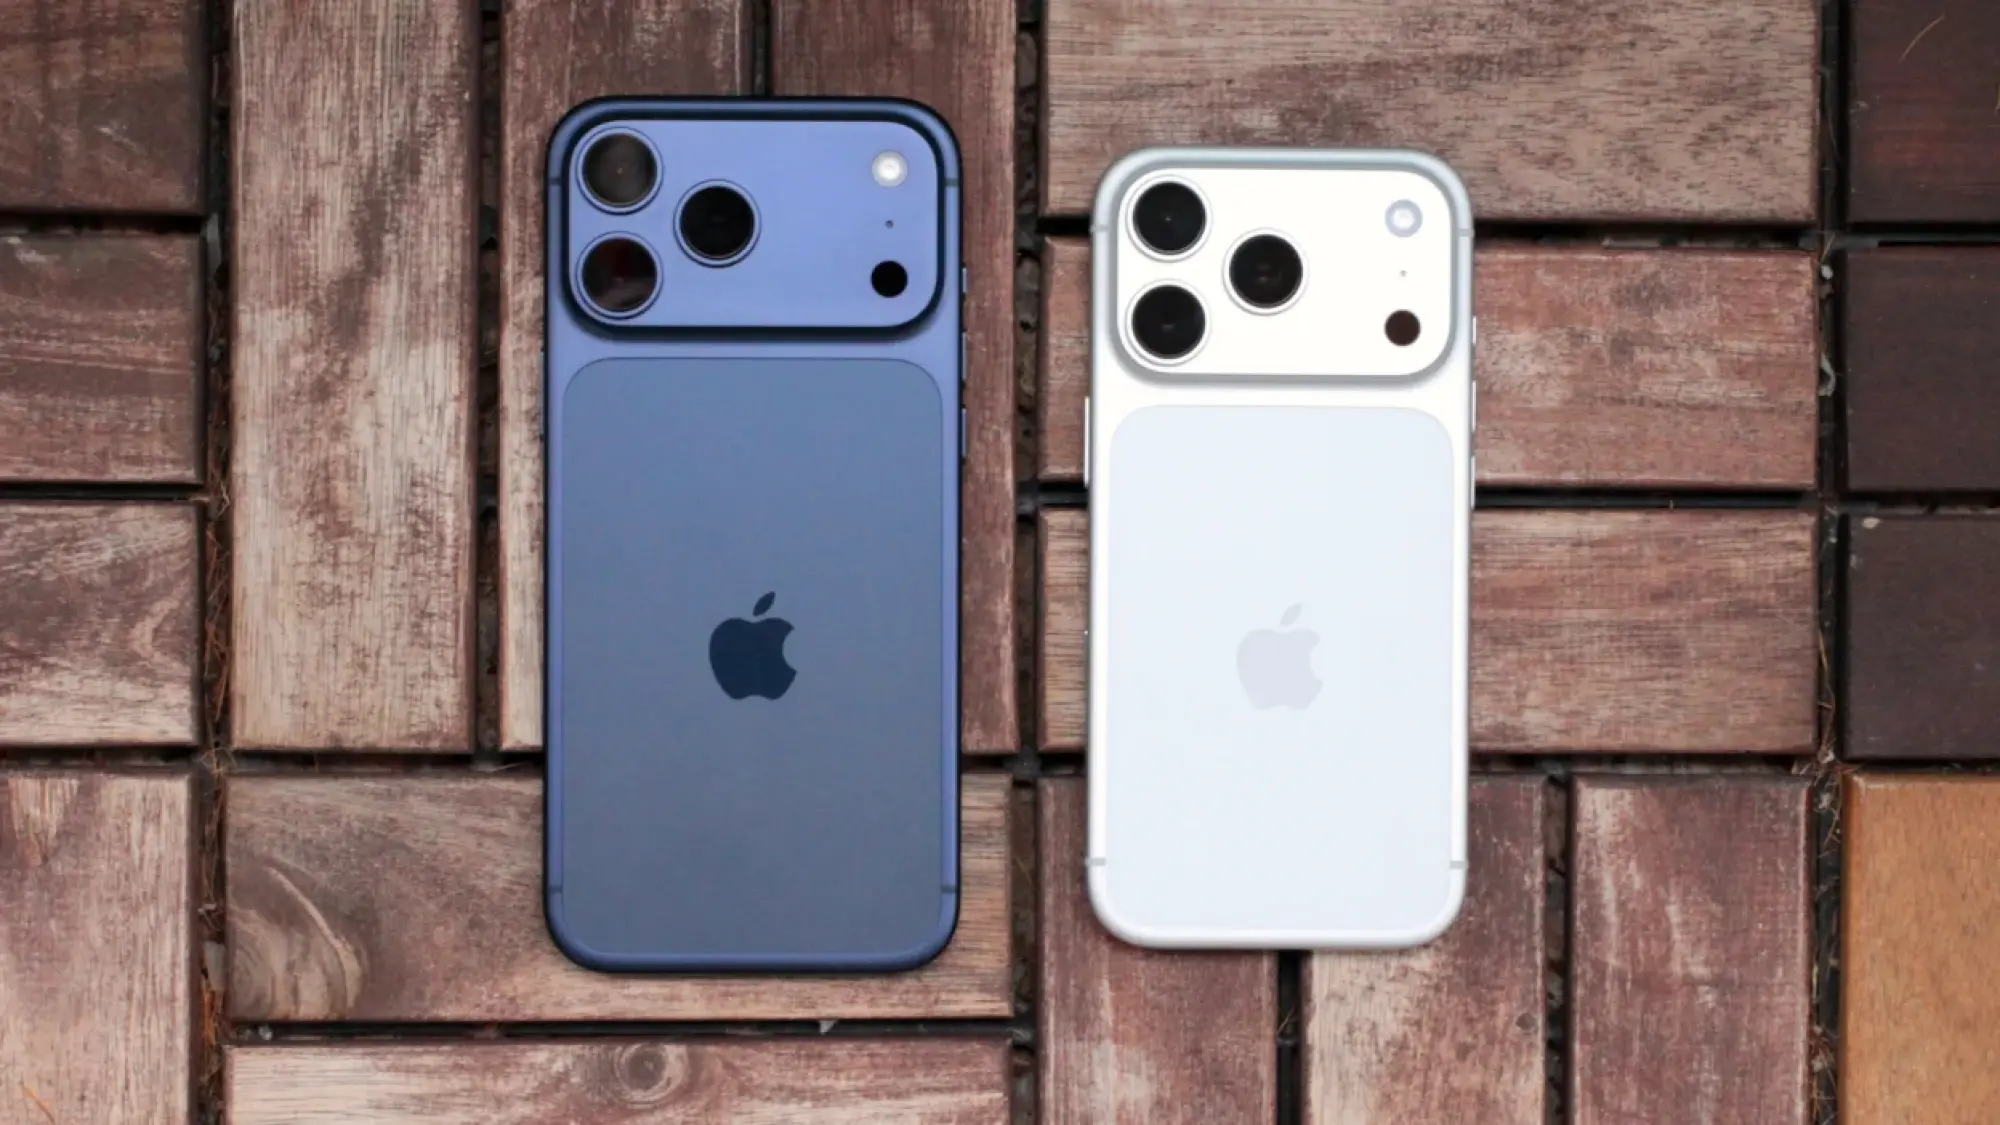
Sep 5, 2026
iPhone 18 Pro: Release Date, Price, Specs, and Everything We Know So Far
iPhone 18 Pro rumors point to a 2nm A20 Pro chip, a smaller Dynamic Island, a variable aperture camera, and Apple's new C2 modem. Here's everything expected ahead of Apple's September 2026 event.
Read more →
Aug 13, 2026
Everything you need to know about Apple's iOS 26
iOS 26's Liquid Glass redesign to iOS 27's Siri AI overhaul — full roadmap of every feature, release date, and what Apple's foldable iPhone means for iOS.
Read more →
Jun 16, 2026
iOS 26.6 Beta 2 Released: Performance Improvements, Bug Fixes, and Hidden Changes
Apple has officially released iOS 26.6 Beta 2 to developers, continuing its work on refining the iOS 26 experience while development of iOS 27 moves forward. Although this update does not introduce major new features, it focuses heavily on performance, stability, security, and bug fixes.
Read more →
Comments
No comments yet. Be the first to comment!
Leave a Comment
Sign in to comment
Join the conversation with your account or continue as a guest.